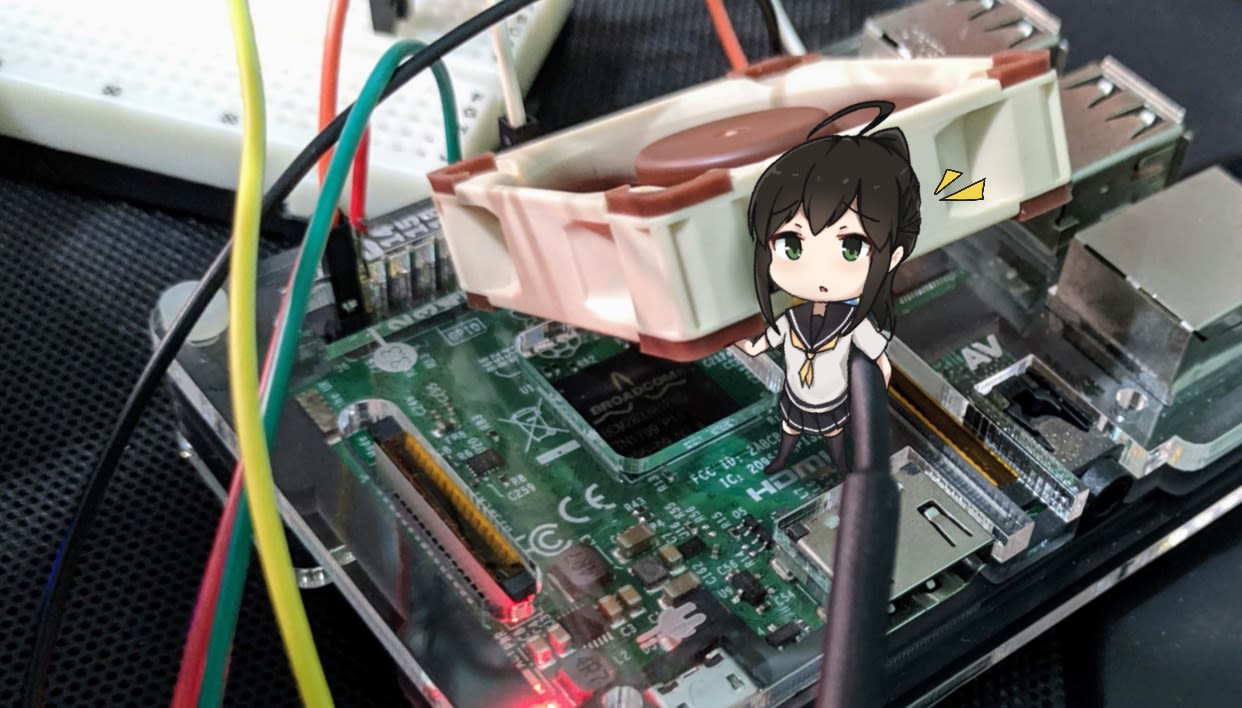
A lot of people uses fan to cool down their Raspberry Pi 4, but the fan’s noise is quiet problem (in a quiet room). In most case pi didn’t need that amount of cooling performance, so we can use PWM (Pulse Width Modulation) to control fan speed and reduce the noise.
Wiring
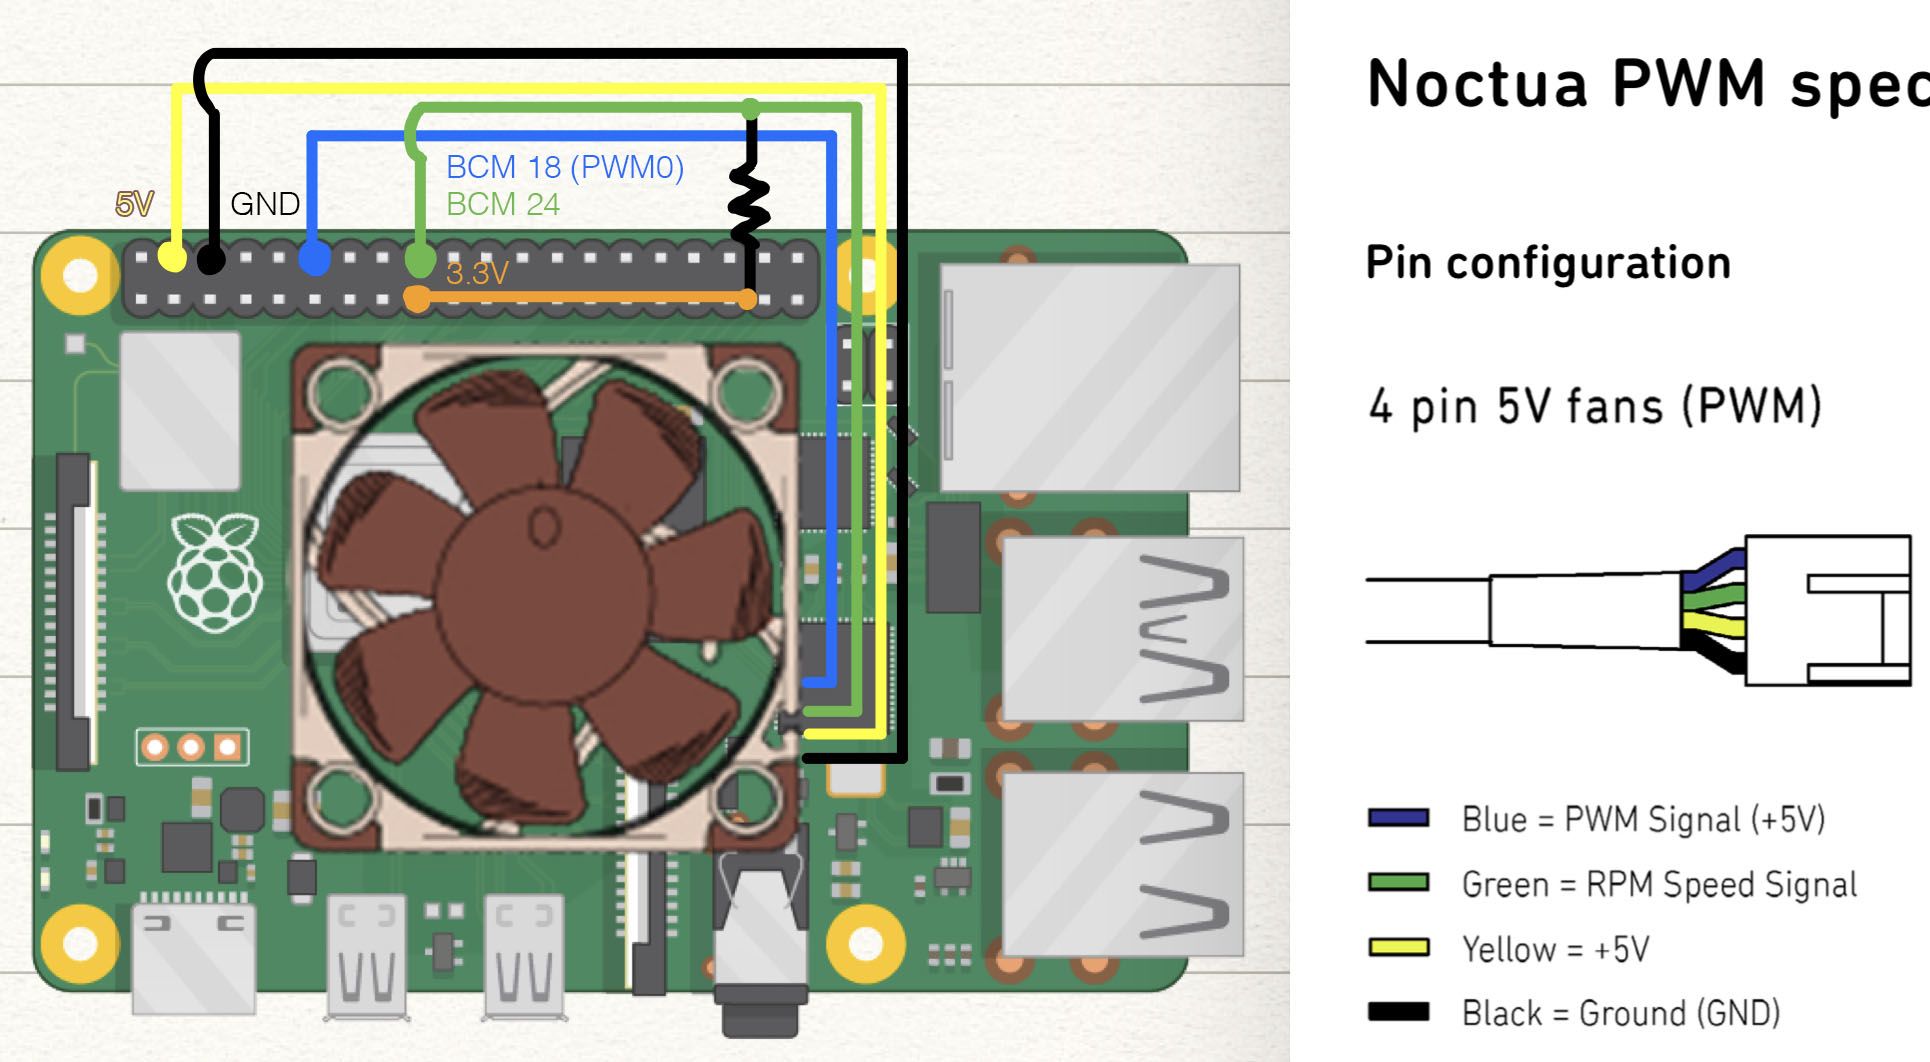
I use Noctua NF-A4 5V PWM, a 40mm, 5V PWM fan. Here’s the wiring diagram:
- Yellow: 5V
- Black: GND
- Green: RPM signal
- Blue: PWM signal input
If your fan doesn’t support PWM control, then you can see #138 Variable Speed Cooling Fan for Raspberry Pi using PWM and PID controller or PWM Regulated Fan Based on CPU Temperature for Raspberry Pi to use a BJT transistor to use PWM control.
The fan’s RPM signal is an OC(Open-Collector) circuit design (in most fan), so you’ll need a pull-up resistor to measure output waveform according to Noctua PWM white paper.
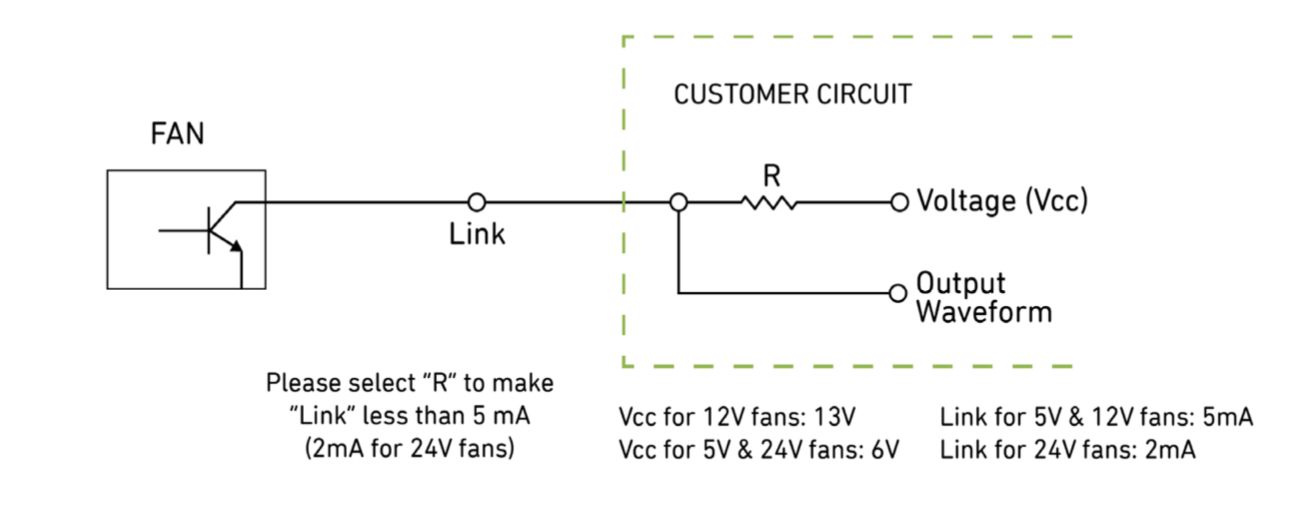
Warning! The Pi has 3.3V GPIO, so your pull-up resistor must be connect to 3.3V ONLY! You will fry your Pi if Vcc is connected to 5V.
The pull-up resistor that I use is 1kΩ 1/4W. The white paper says the maximum current is 5mA. According to Ohm’s Law: $V=IR$, the resistor should be 660Ω or larger to protect your fan.
Most micro-controller or SBC already have a decent circuit to generate PWM signal, you don’t need special circuit to generate it.
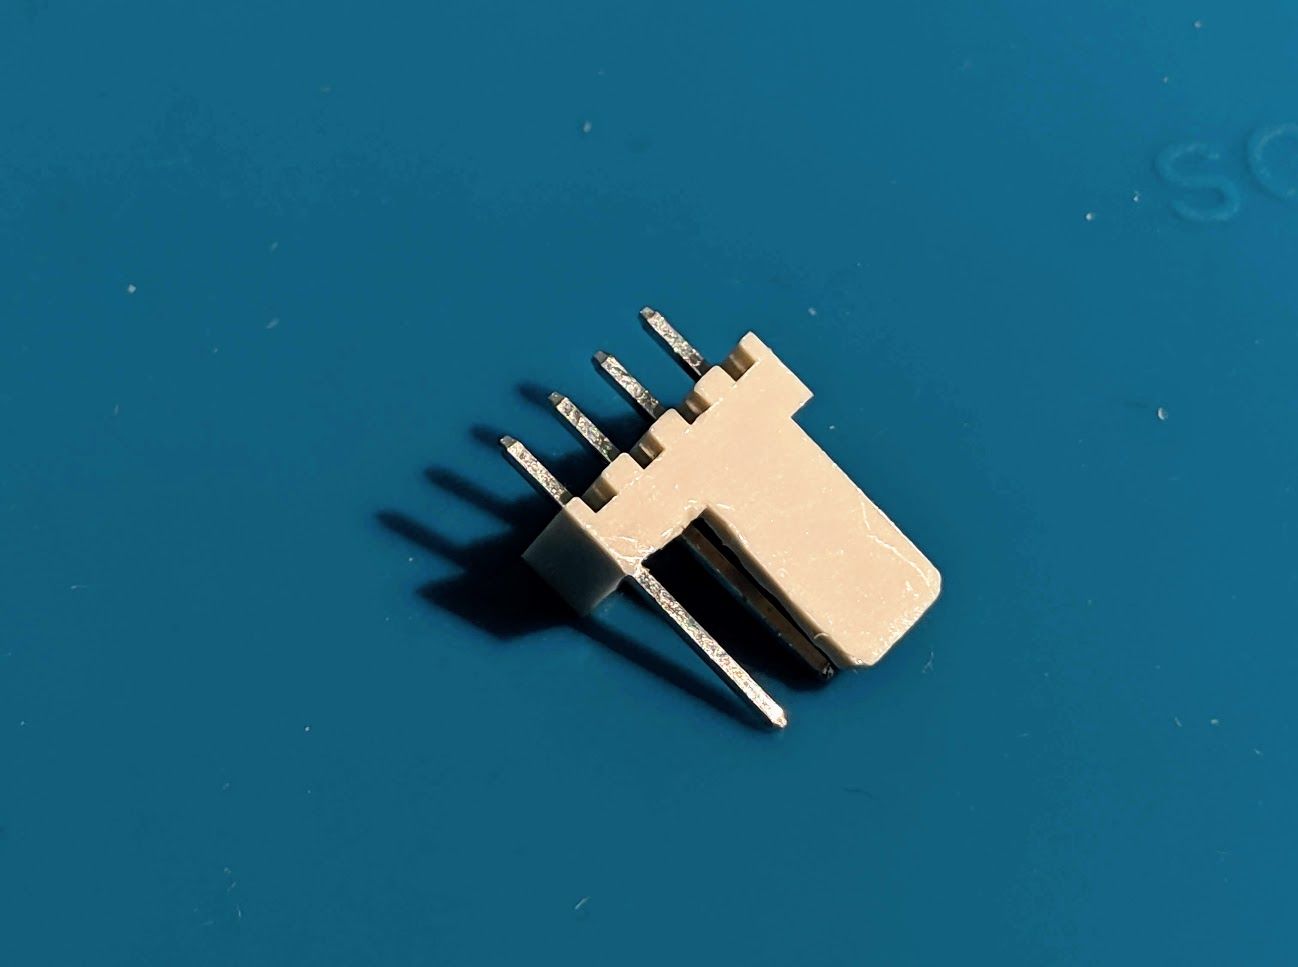
I use a Molex 2510 4PIN (2.54mm) connector to connect the fan. (Need to cut out some fool-proof board to fit.)
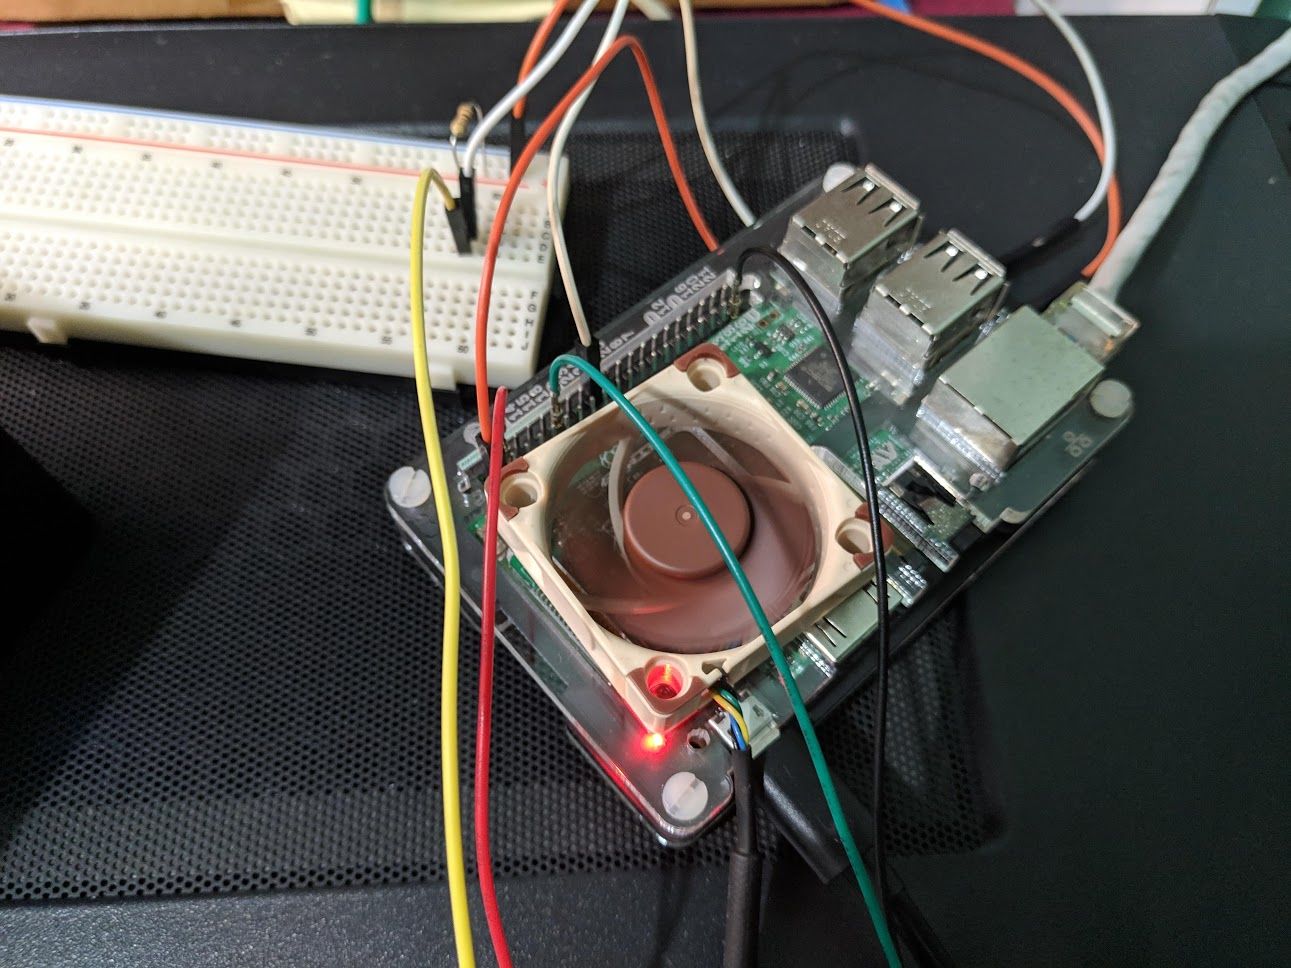
Here’s a photo testing hardware and program on Pi 3B.`
Control Script
PWM GPIO Test
I use Wiring Pi to test PWM signal. If you don’t want to test it, jump to Use PWM to Control Fan Speed.
The Pi4 haven’t update to latest version of wiring-pi yet, need to update it manually.
1 | cd /tmp |
Version check:
gpio -v
The latest version when I write this post is 2.52
Read GPIO status:
gpio readall
Set pin 1 to PWM mode (using wiring-pi pin number: Pi GPIO Pinout).
gpio mode 1 pwm
Set PWM signal (number from 0~1023)
gpio pwm 1 [number]
Check the fan is working as you expect.
Use PWM to Control Fan Speed
The control script is on: DriftKingTW/Raspberry-Pi-PWM-Fan-Control
I use GPIO18 which is the hardware PWM(12/13 and 18/19) and all other pins are software PWM. Hardware PWM and the headphone jack use the same circuits, don’t use them at the smae time.
mkdir -p Scripts
cd Scripts/
Download the python script:
1 | wget https://raw.githubusercontent.com/DriftKingTW/Raspberry-Pi-PWM-Fan-Control/master/fan_control.py |
python fan_control.py
And make it auto start:
Edit rc.local
1 | sudo vim /etc/rc.local |
Add the following line before exit 0 :
1 | python /home/pi/Scripts/fan_control.py & |
The route might be different for you. Make sure you’re using absolute path. The ‘&’ symbol means this script runs in background.
If you don’t want to know the theory part, than go ahead to: Reading RPM Signal
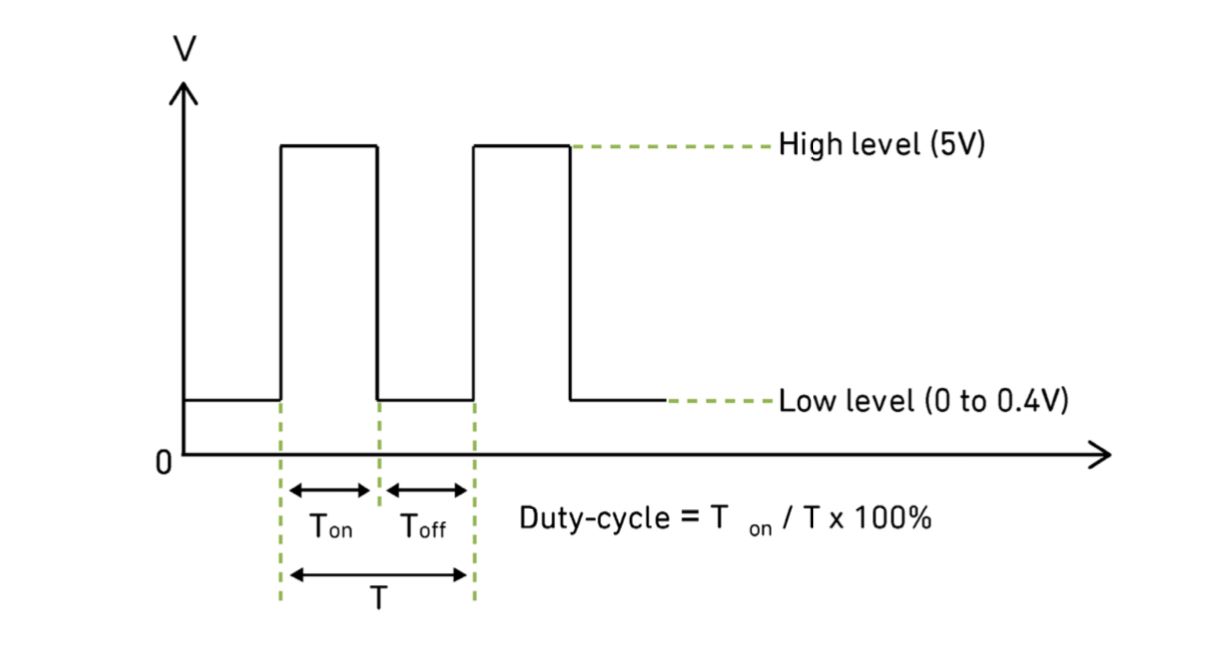
PWM uses square wave’s duty-cycle to reduce the average value of voltage, if the duty cycle is 50%, the fan will spin at 50% of it’s full speed; duty cycle 75%, fan 75%, and so on. More detail: Pulse-width modulation
And we can take a look at the control script:
1 | import RPi.GPIO as GPIO |
Reading RPM Signal
Github: DriftKingTW/Raspberry-Pi-PWM-Fan-Control
1 | wget https://raw.githubusercontent.com/DriftKingTW/Raspberry-Pi-PWM-Fan-Control/master/read_fan_speed.py |
Run script and you will get RPM value every second:
python read_fan_speed.py
1 | import RPi.GPIO as GPIO |
Reference
Noctua PWM specifications white paper
wiringPi updated to 2.52 for the Raspberry Pi 4B
#138 Variable Speed Cooling Fan for Raspberry Pi using PWM and PID controller

Comments